I've dreadfully neglected my poor bloggy-wog for an entire year now!
But, I'm back, and crafting more than ever, so some wonderful projects will be coming soon.
Friday, July 12, 2013
Monday, June 4, 2012
Chevron Headband/Jewelry Holder
I have long hair. And that long hair always manages to wind up in my face. I dislike this, so I go through hairbands like crazy. Sick of not being able to find a hairband when I needed to, I decided, no more! Thus this hair/headband holder was created. And no longer able to hold out against the chevron craze, I couldn't resist fancying it up with these classy Vs. Sorry if you are so over it.
.JPG)
I got my wood blocks from the lumber section of the hardware store. They were scraps sitting next to the table saw just waiting to be chucked. I askedthe cute guy operating the table saw if I could have them. He said yes, the rest is history.
Materials:
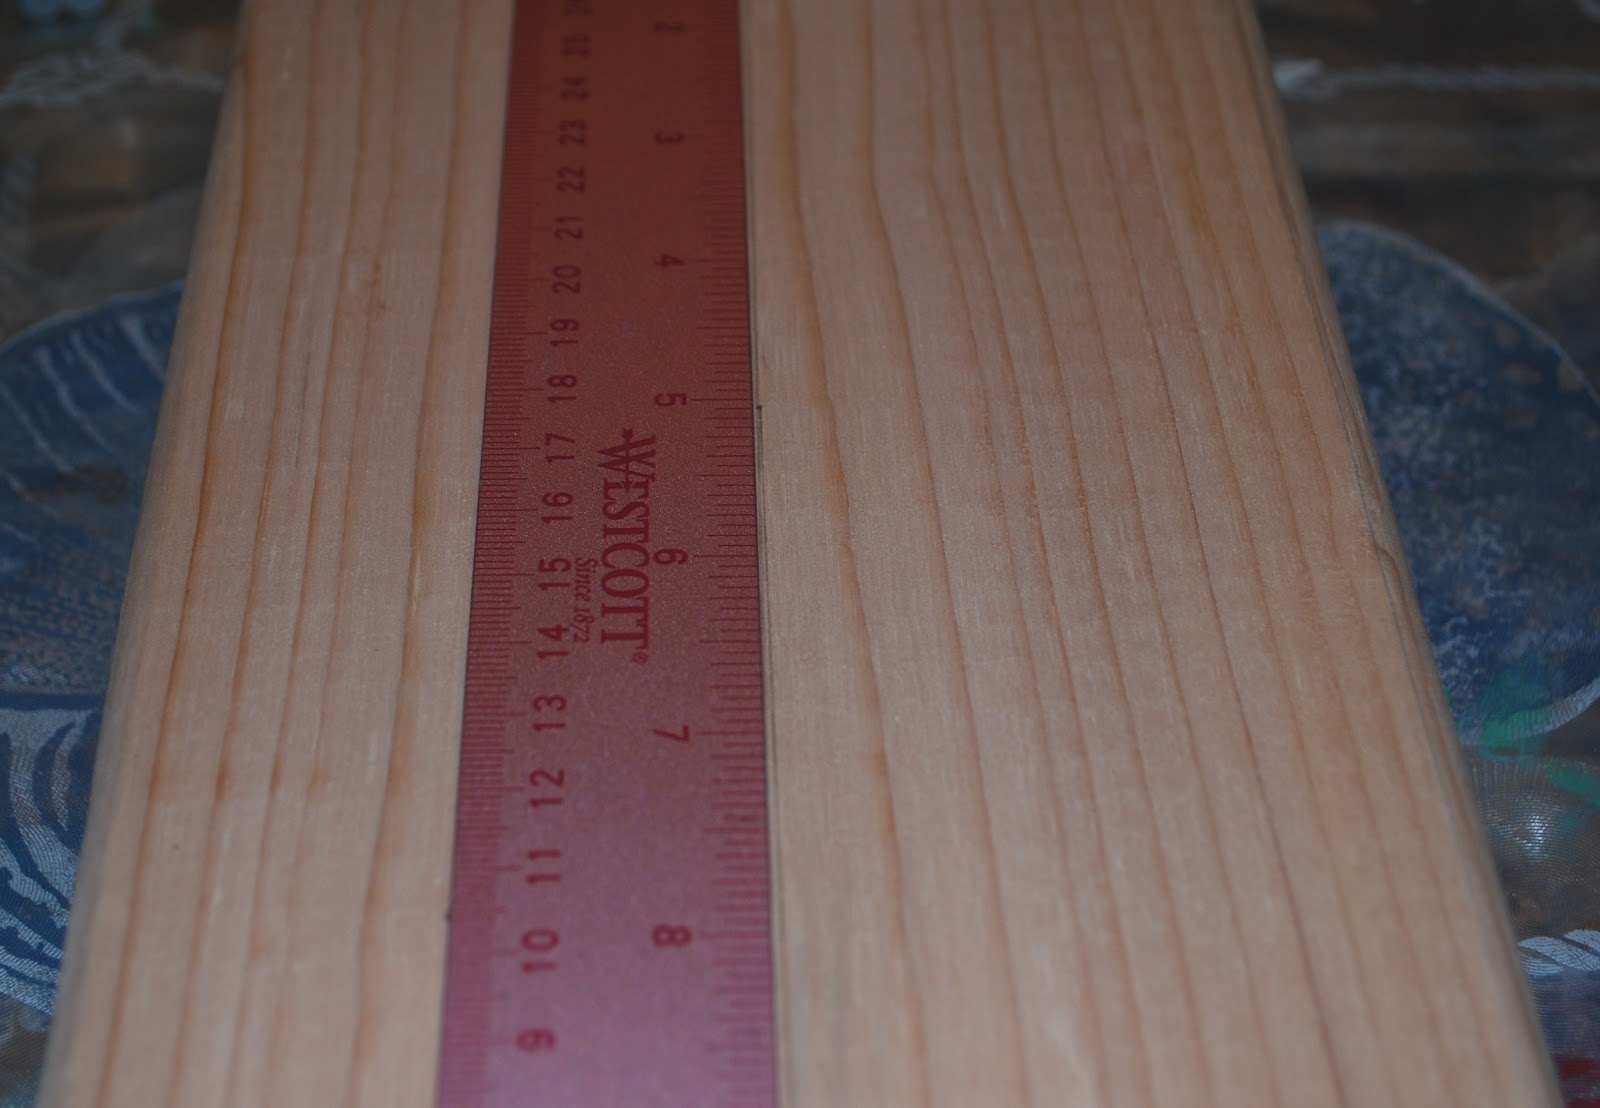
Wood board
Paintbrush/ Foam brush
Acrylic paint OR Spray paint
Painters tape
Pencil & Eraser
Cardboard
Ruler
Hammer & Nails
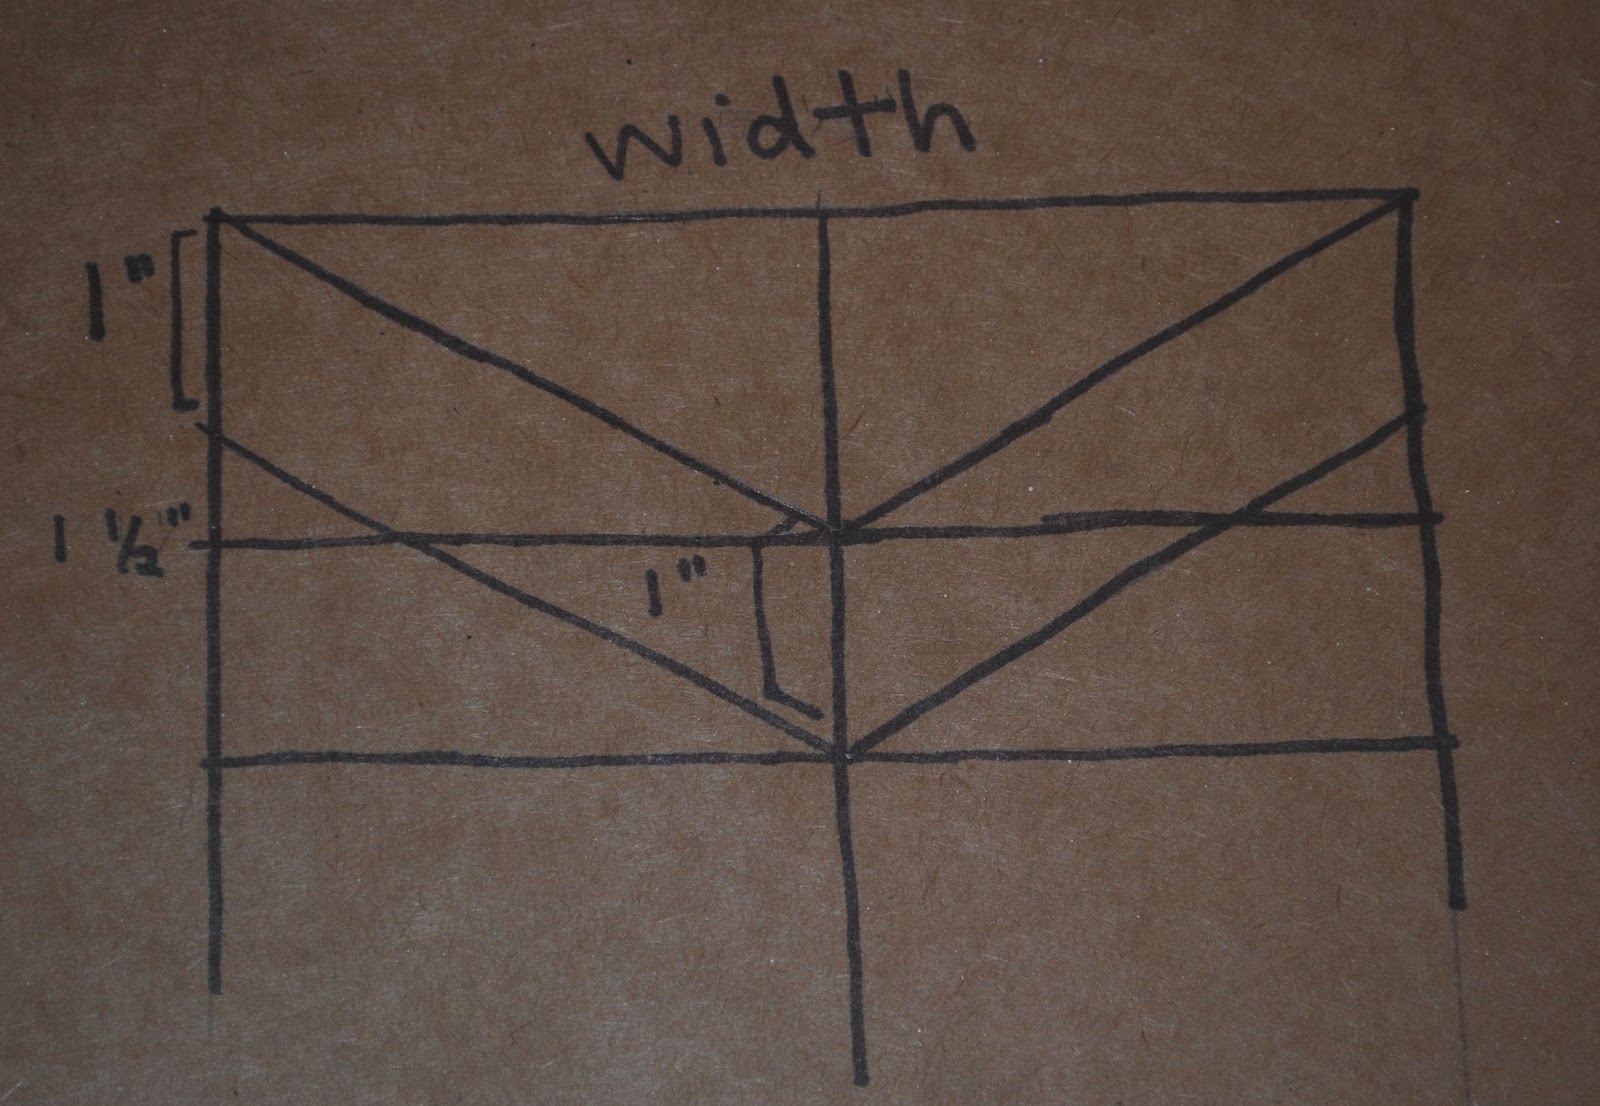
1. Make a template for your chevrons. This seems super easy, but as I learned, it won't look so great unless you make sure all the dimensions are aligned.

2. Draw a line down the center. When stenciling on the chevrons, make sure the tip of the V lines up with the center line, or else the Vs will be uneven and off center.

3. Pencil your stencil onto your plywood. Mark VERY lightly. You will probably want to erase at some point, and soft wood is easily indented. OPTIONAL: Use painters tape to make clean, even lines for the sections you will be painting. I freehanded it, but this is probably a good idea.

4. Tape the sides unless you want to paint all the way around them.

5. Paint. Let dry and repeat.

6. Decide where you want your nails to go. Hammer them in. I painted mine. This is easier to do before hammering, but if you have a steady hand, you can do it easily once they are hammered in.
Alternately, drawer knobs can be used instead of nails for a fancier look, but I needed a longer bar to stick my headbands and hair ties on. I am sure I will be making many more of these.
.JPG)
Obviously, I love this project. The one in the center I made for myself, and the other two are gifts.
.JPG)
I got my wood blocks from the lumber section of the hardware store. They were scraps sitting next to the table saw just waiting to be chucked. I asked
Materials:
Wood board
Paintbrush/ Foam brush
Acrylic paint OR Spray paint
Painters tape
Pencil & Eraser
Cardboard
Ruler
Hammer & Nails
1. Make a template for your chevrons. This seems super easy, but as I learned, it won't look so great unless you make sure all the dimensions are aligned.
2. Draw a line down the center. When stenciling on the chevrons, make sure the tip of the V lines up with the center line, or else the Vs will be uneven and off center.
3. Pencil your stencil onto your plywood. Mark VERY lightly. You will probably want to erase at some point, and soft wood is easily indented. OPTIONAL: Use painters tape to make clean, even lines for the sections you will be painting. I freehanded it, but this is probably a good idea.

4. Tape the sides unless you want to paint all the way around them.

5. Paint. Let dry and repeat.

6. Decide where you want your nails to go. Hammer them in. I painted mine. This is easier to do before hammering, but if you have a steady hand, you can do it easily once they are hammered in.
 |
| Add a monogram for extra flair |
.JPG)
Obviously, I love this project. The one in the center I made for myself, and the other two are gifts.
Saturday, May 12, 2012
Vintage Earrings Refashion- Two in One!

 |
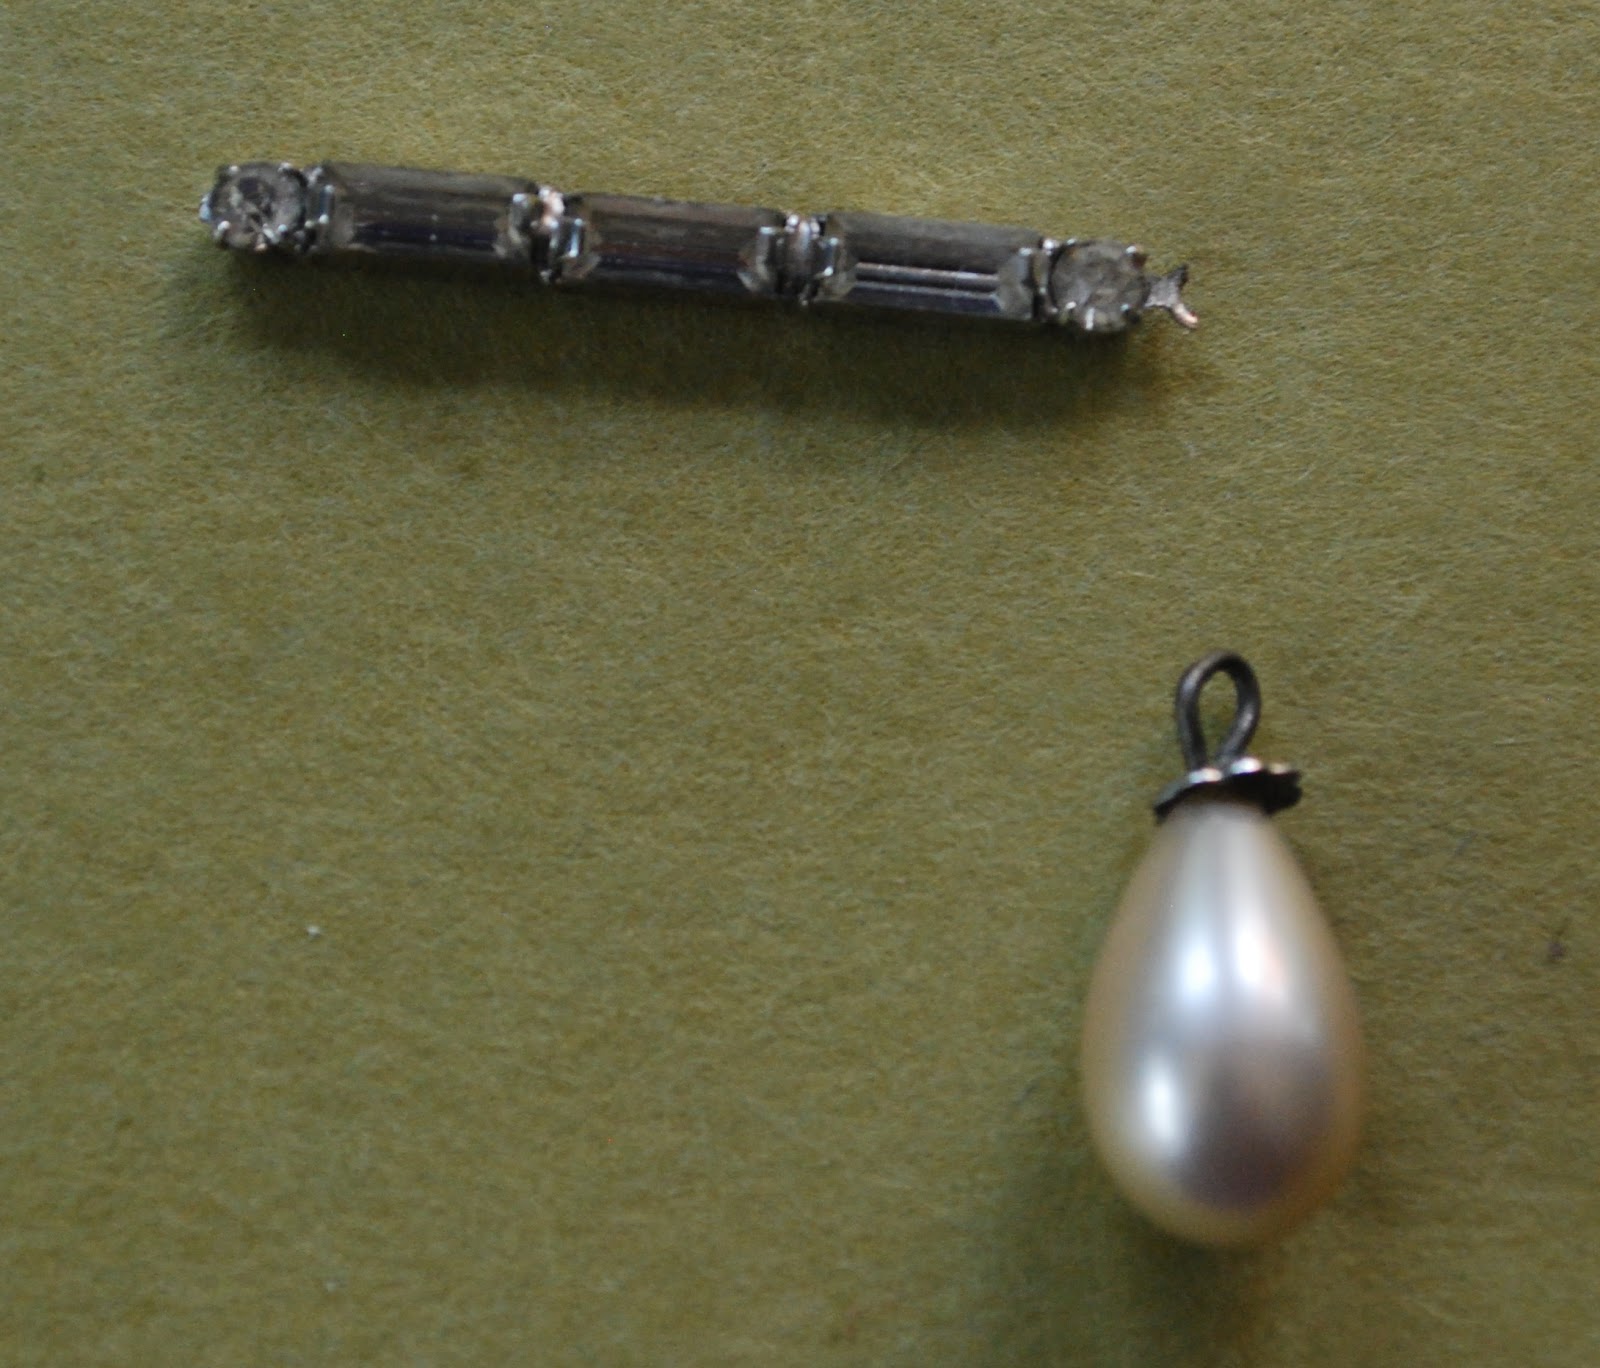
| The Original |
The earrings are quite cute, so I decided to convert them into something a little more modern, and that could be worn in my pierced ears.

Materials
Pliers
Cutters
Earring hooks
Earring posts
Super glue
1. Separate the pearl drop at the bottom by breaking the metal loop that held it. Attach to an earring hook.

3. Put a dab of super glue on the earring post, and press it on to the back of the charm. Hold it there for a minute or two to let the glue set. Let dry for at least an hour before wearing.


I have gotten so many compliments on the studs already, and I love being able to tell people that, actually, I made it!
xo
H
Sunday, April 29, 2012
Hats: An Endangered Accessory

Let me present the accessory that is sadly, going the way of the dinos. Practical, functional, and with grand potential for style, the humble hat is a swell addition to any outfit. With limitless styles, hats can add a wonderful flair to any outfit. Nowadays they are mostly worn in a practical manner, utterly lacking in panache.


[Images c/o The Sartorialist]
Needless to say, I have a In the hopes that more people will join me in wearing hats, I have put together a few outfits, and some hats that compliment them perfectly.
P.S. You know how when you say or read a word a lot it starts to sound/look really weird? Hats, hats, hats, hats, hats, hats, hats, hats.

{Floppy Hat}

{Beret}

{Cloche}

{Fascinator}
Thursday, April 26, 2012
Get The Style: Boho
This is the second post in a little series I've come up with. I'm going to detail how to get a specific look by throwing on a few pieces. I already detailed how to do preppy. Some future looks will be hipster and sporty. Let me know what other looks you want to see explained!
Boho is a rather confusing style to define, mainly because its roots are basically everything that isn't mainstream. It is short for bohemian, which means in brief, hippy. Three celebrities who are notable for their boho style are Nicole Ritchie, and the Olsen twins.
Because boho is a little bit of everything, there are pieces that can look everything but alternative. You have to wear things together to really convey the right look. Unlike the preppy post where you could pick a few pieces and the look you were going for was obvious, this is a bit more formulaic. You can send a completely different vibe if you aren't careful about the pieces you are putting together. This look is mostly about being quirky and comfortable, so most importantly, have fun with it!
Easy Breezy: For a cute but less conventional look go for wispy tops and floaty shorts. Show off your pedi in leather sandals, and accessorize with offbeat earrings, and for a unique touch add a delicate anklet.

A Free Spirit: Get international with bangles and patchwork, and add a fun touch with funky danglies. Studs bring some hardware to the look, but don't go overboard. Again, comfort is a key element of the boho look, so walk easy in moccasins or Birkenstocks.
 Flower Child: For a look that is clearly influenced by hippie style, don a breezy maxi skirt or dress. Add a crocheted vest and desert boots. Top it off with raw stone jewelry, and anything incorperating feathers and fringe.

Boho is a rather confusing style to define, mainly because its roots are basically everything that isn't mainstream. It is short for bohemian, which means in brief, hippy. Three celebrities who are notable for their boho style are Nicole Ritchie, and the Olsen twins.
Because boho is a little bit of everything, there are pieces that can look everything but alternative. You have to wear things together to really convey the right look. Unlike the preppy post where you could pick a few pieces and the look you were going for was obvious, this is a bit more formulaic. You can send a completely different vibe if you aren't careful about the pieces you are putting together. This look is mostly about being quirky and comfortable, so most importantly, have fun with it!
Easy Breezy: For a cute but less conventional look go for wispy tops and floaty shorts. Show off your pedi in leather sandals, and accessorize with offbeat earrings, and for a unique touch add a delicate anklet.
A Free Spirit: Get international with bangles and patchwork, and add a fun touch with funky danglies. Studs bring some hardware to the look, but don't go overboard. Again, comfort is a key element of the boho look, so walk easy in moccasins or Birkenstocks.
Monday, April 23, 2012
DIY: Navajo Patterned Messenger Bag
I haul my computer, books, and various notebooks with me just about everywhere I go, and sick of digging through my tote the other day to find the right notebook, I decided it was time to pull out my old messenger bag. Before I started taking it with me, though, it needed some jazzing up.

After: A fun, Navajo-inspired print.
I wasn't able to find a good pattern online, so I sketched a design onto the canvas with chalk used in sewing to mark fabric, and filled it in with white, yellow, brick red, and turquoise fabric paint. I used Martha Stewart Crafts multi-surface satin acrylic craft paint, and I am pleased with the quality. A bonus: It says it works on wood, glass, and metal as well, so I'll have to try it on some different surfaces! This was such a fun project, because I love painting.
It took me a few hours over the course of three days. It isn't perfect, but I think it looks great despite the mistakes!
Before: So boring.

After: A fun, Navajo-inspired print.
.JPG) |
| Front |
 |
| Back |
Thursday, April 19, 2012
Monogrammed Moleskine

Materials
Wax pencil/ Grease Pencil (I recommend white for all projects)
Notebook/ Planner
Thin tipped paintbrush
Paint (gold is super classy, but any complimenting colors will be good)
1. Sketch monogram onto cover. Lightly draw lines in to make sure everything is even and centered if you must. Nothing looks cheesier than a off-center paint job.

2. Vary the paintbrush size depending on the thickness of the monogram lines that you want. Make the lines VERY THIN to start with, so that any squiggles can be corrected. Make a stencil using freezer paper and an exacto knife if you're particular, but thats more of a time investment than I was willing to make.
3. Paint over the sketch. Do one coat, let dry and then repeat. If you keep painting over wet paint, the finished results will look streaky and lumpy. If there are any stray wax pencil marks left, use a damp q-tip or an eraser to get rid of them.
TAA DAA! And whammoblammo, now you can be organized AND preppy.

P.S. (Sorry for all the parenthesis. Not sure why I'm doing it, but I can tell it's a problem.)
Subscribe to:
Comments (Atom)